Tech Blog
by Popular Demand

Install Node.js on Windows
So you want to develop Node.js on Windows. It’s a simple process. Follow these steps:
1. Navigate to nodejs.org

Navigate to nodejs.org and select the version of node you want to download. Even number versions have Long-Term Support (LTS).
Long-term support “typically guarantees that critical bugs will be fixed for a total of 30 months.” Production applications should use LTS versions. Use a more recent odd number version to test out latest features.
Read more about node’s release schedule in the Resources.
2. Setup Wizard
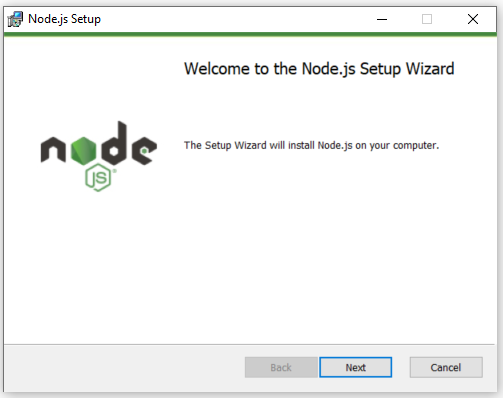
Once the installer finishes downloading, open the downloaded file to open the installation wizard.
3. Accept Terms
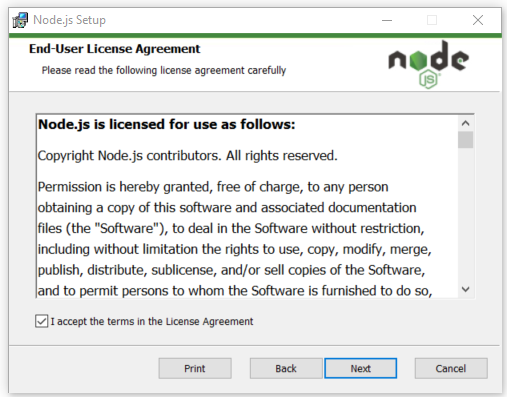
Accept the terms of the License Agreement if you agree.
4. Select the Installation Directory
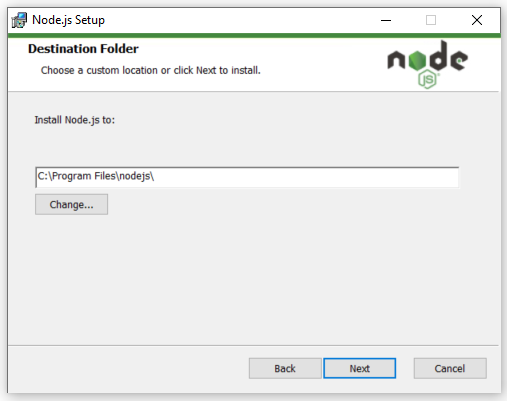
The default location, C:\Program Files\nodejs\, is fine. If you install in a non-default location, ensure the directory is located within your command-line’s $PATH variable.
5. Customize Features
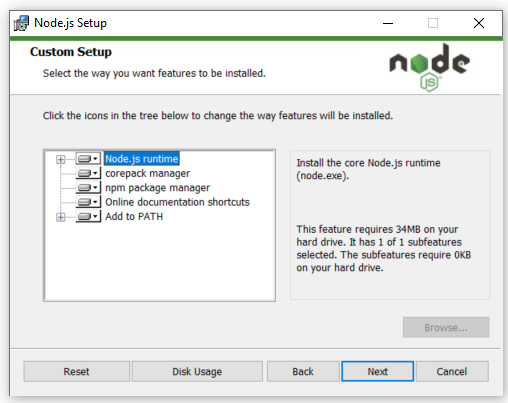
Click next unless you are certain you want something different. I have never customized this step.
6. Install Tools for Native Modules
You will need a few software tools to be installed in addition to Node.js in order to compile certain JavaScript/C++ npm modules. NPM modules are 3rd party libraries that can be used to extend the functionality of your application.
If you decide not to install the tools, they can be installed later.
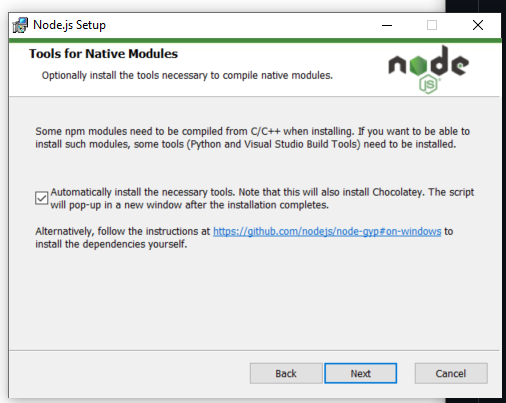
I checked the box because I know I want the tools.
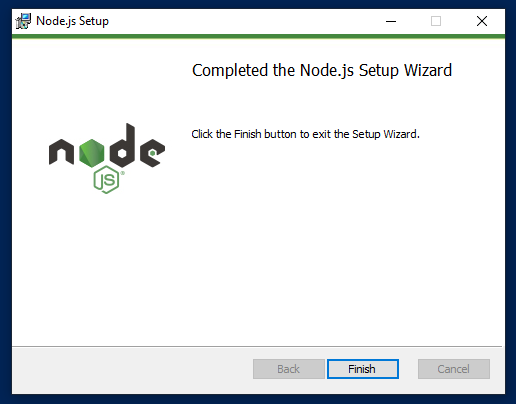
7. Install
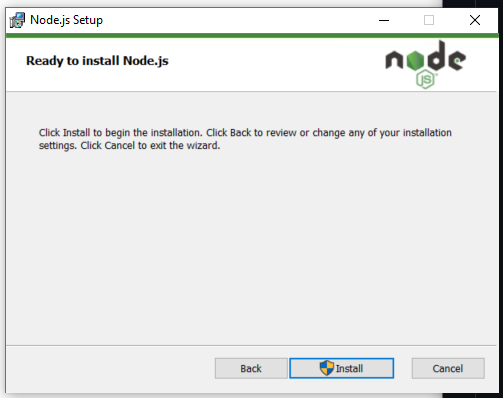
Install.
8. Watch the Progress Bar
Or not. The installation took me ~3 minutes total.
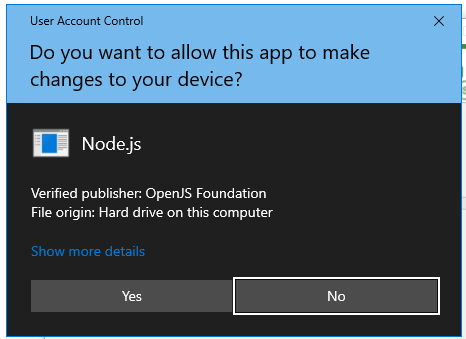
9. Allow Node.js to make changes to the device
10. After installation, Install Native Module Tools
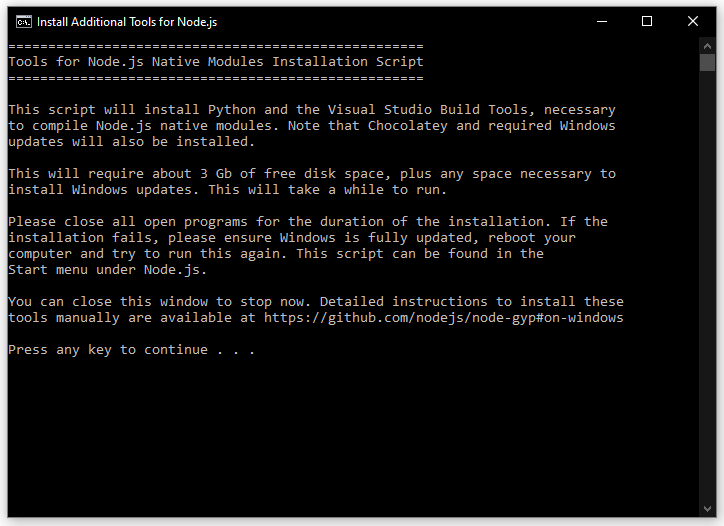
If you selected “Automatically install the necessary tools” in Step 6, after the node’s install is finished, a window will appear with some information about the libraries that are about to be installed. Continue through the prompts.
11. Finish Tools’ Install in Powershell
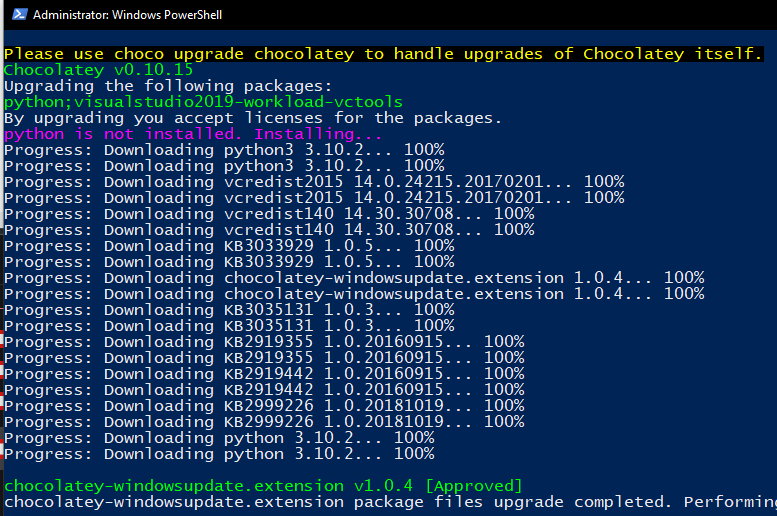
The process will open a Powershell window with Administrator rights, and finish the installation in Powershell. Allow Powershell to make changes to the device.
12. Wait for and Debug Tools Install
The install process takes longer than the Node.js install. The installer recommends closing all programs other than the installer during the install process.
I did not do that, and did not find the performance of my PC affected during install. However, the install did fail the first time…
12a. Repair Native Modules Install
The install failed for me near the end, but luckily the fix is easy.
The fix that worked for me was this: Reactivate the Node.js installer download, and select the ‘Repair’ option. See Repair Node Installation in the Resources for details. See the resource as well if you have an installation failure not fixed by this solution:
Find the downloaded file from Step 1, and select it.
Select next, then select ‘Repair.’


13. Check Installation
You should now have Node and NPM install. If you installed the native modules, you will have those as well. From Windows Terminal (or similar), run the following commands and check the output:
> node -v
v16.13.2

> npm -v
v8.2.1
node -v checks the version of node, npm -v checks the version of npm, node package manager.
If you installed native modules, run the following to check the version of the installed libraries:
> choco list -lo

Chocolatey v0.10.15
chocolatey 0.10.15
...long list...
visualstudio-installer 2.0.2
visualstudio2019-workload-vctools 1.0.1
visualstudio2019buildtools 16.11.9.0
21 packages installed.
In particular, check for the existance of visualstudio-installer, visualstudio2019-workload-vctools, and visualstudio2019buildtools libraries.
Resources
Node JS Release Schedule and Information - nodejs.org/en/about/releases
Manage PATH System Variable on Windows - docs.oracle.com
Install Tools for Native Modules - github.com/nodejs/node-gyp#on-windows
Repair Node Installation - stackoverflow.com/a/68912225